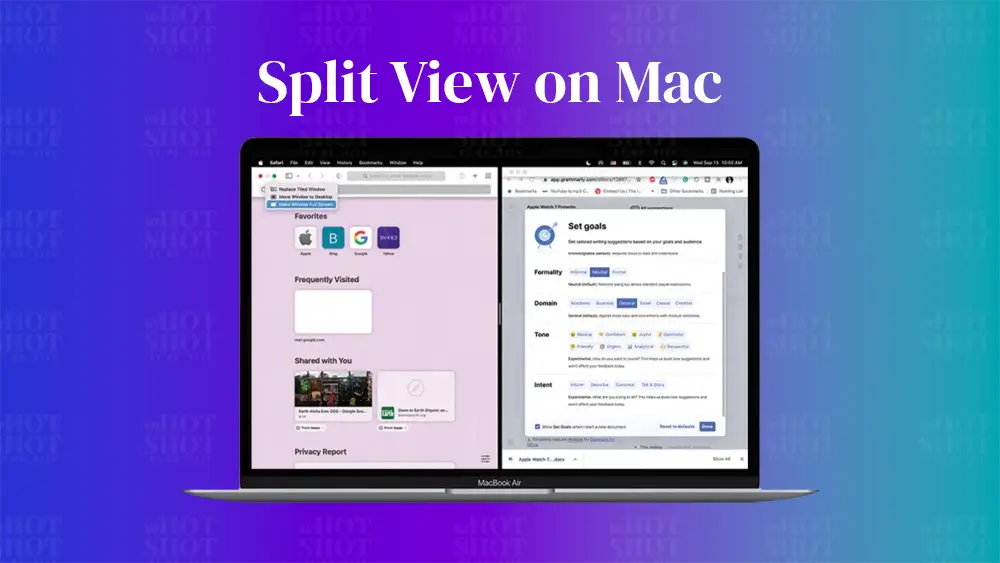
Working with multiple windows can be a pain, especially when you need to reference information in one app while working on another. That’s where the Split View feature on Mac comes in handy. This feature allows you to work with two apps side-by-side in full-screen mode, which can help boost your productivity and make your work easier. Here’s how to use the Split View on Mac in 1000 words.
Step 1: Open the Two Apps You Want to Use in Split View
The first step is to open the two apps you want to work with side-by-side in Split View. You can do this by clicking on the app icon in your Dock, or by using Spotlight search. Make sure the apps you want to use are both open and running.
Step 2: Click and Hold the Green Full-Screen Button
The next step is to click and hold the green full-screen button in the upper left-hand corner of one of the app windows. The green full-screen button is located in the upper left-hand corner of every app window. When you click and hold the button, the window will shrink, and the desktop will appear.
Step 3: Drag the App Window to the Left or Right Side of the Screen
While holding down the mouse button, drag the app window to the left or right side of the screen. As you do this, you will see a gray bar appear in the middle of the screen, indicating the area where the window will snap into place. This gray bar is the Split View divider, and it allows you to adjust the size of the windows on each side of the screen.
Step 4: Release the Mouse Button
Once you’ve dragged the app window to the left or right side of the screen, release the mouse button. The app window will snap into place on one side of the screen, and the other half of the screen will show any other open windows you have.
Step 5: Click on the Other App Window to Activate It
To activate the other app window, click on it. The window will now take up the other half of the screen. You can now work with both apps side-by-side.
Step 6: Adjust the Split View Divider
If you want to adjust the size of the windows on each side of the screen, you can do so by clicking and dragging the Split View divider. The divider is a gray bar that separates the two windows. Simply click and hold the divider, and then drag it to the left or right to make one window larger or smaller.
Step 7: Exit Split View
To exit Split View, simply click and hold the green full-screen button in the upper left-hand corner of one of the windows, and the window will return to its normal size. You can also exit Split View by pressing the Escape key on your keyboard.
Using Split View can help you work more efficiently by allowing you to work with two apps side-by-side in full-screen mode. You can reference information in one app while working on another app, which can help you complete your work more quickly and accurately.
Split View is especially helpful when you need to work on multiple tasks at once, such as writing a paper while looking up sources online, or editing photos while referencing a style guide. Split View is also great for multitasking, allowing you to stay organized and focused on your work.
In conclusion, Split View is a great feature on Mac that can help you work more efficiently and effectively. By following the steps above, you can use Split View to work with two apps side-by-side in full-screen mode. Whether you’re a student, professional, or just looking to be more productive, Split View can help you get your work done more quickly and accurately.
Find more articles regarding Mac Tutorials here.


