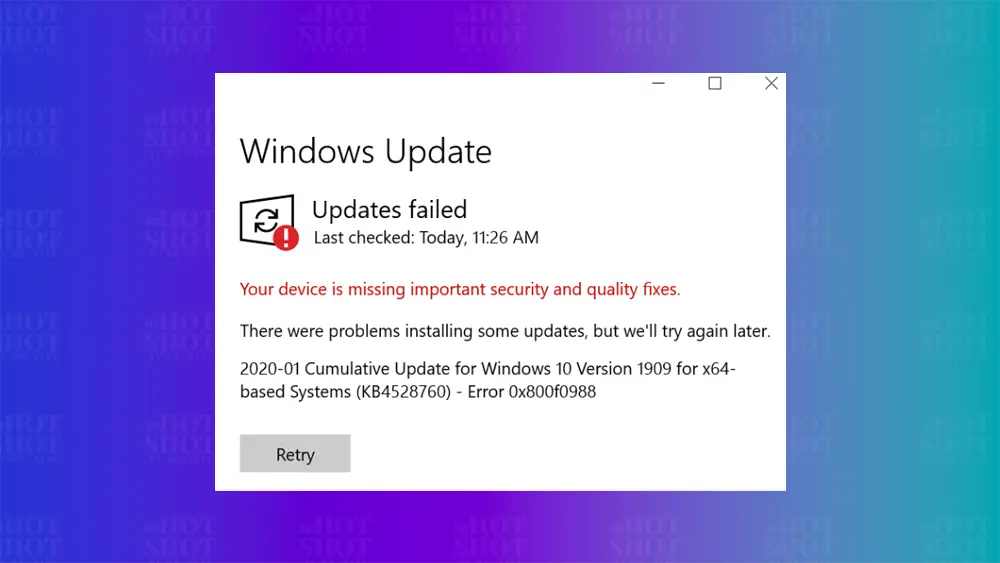
Updating your Windows operating system is essential for maintaining its security and performance. However, sometimes updates may fail to install, resulting in the Windows Update error. This can be frustrating, especially when you’re not sure how to fix it. In this guide, we’ll walk you through the steps to resolve the Windows Update error.
Step 1: Check Your Internet Connection
The first step is to ensure that your internet connection is stable and working correctly. Check that you’re connected to the internet and that there are no connectivity issues. A slow or unstable internet connection can cause the update to fail. If you’re using a Wi-Fi connection, try connecting your computer directly to your router using an Ethernet cable.
Step 2: Run the Windows Update Troubleshooter
Windows has a built-in tool called the Windows Update Troubleshooter that can automatically detect and fix issues related to the Windows Update process. To run the Windows Update Troubleshooter, follow these steps:
- Press the Windows key + I to open the Settings app.
- Click on “Update & Security.”
- Select “Troubleshoot” from the left pane.
- Click on “Additional troubleshooters.”
- Select “Windows Update” from the list and click on “Run the troubleshooter.”
The tool will detect and fix any issues with the Windows Update process automatically.
Step 3: Delete the Software Distribution Folder
The Software Distribution folder is a folder on your computer where Windows stores updates before installing them. Sometimes, corrupted files in this folder can cause the update to fail. Deleting the contents of the Software Distribution folder can help fix the issue. Here’s how:
- Press the Windows key + R to open the Run dialog box.
- Type “services.msc” and press Enter.
- Scroll down and locate the “Windows Update” service.
- Right-click on it and select “Stop.”
- Open File Explorer and navigate to C:\Windows\SoftwareDistribution.
- Select all the files and folders in the Software Distribution folder and press the Delete key.
- Go back to the Services window and right-click on the “Windows Update” service.
- Select “Start” to restart the service.
Step 4: Restart the Windows Update Service
If the Windows Update service is not running correctly, the update can fail. Restarting the service can help resolve the issue. Here’s how:
- Press the Windows key + R to open the Run dialog box.
- Type “services.msc” and press Enter.
- Scroll down and locate the “Windows Update” service.
- Right-click on it and select “Restart.”
- Wait for the service to restart and then try installing the update again.
Step 5: Perform a Clean Boot
A clean boot is a troubleshooting technique that allows you to start Windows with a minimal set of drivers and startup programs. This can help identify and resolve issues that may be causing the update to fail. Here’s how to perform a clean boot:
- Press the Windows key + R to open the Run dialog box.
- Type “msconfig” and press Enter.
- Click on the “Services” tab and check the “Hide all Microsoft services” box.
- Click on “Disable all.”
- Click on the “Startup” tab and click on “Open Task Manager.”
- In the Task Manager, disable all startup items.
- Close the Task Manager and click on “OK” in the System Configuration window.
- Restart your computer and try installing the update again.
Find more tutorials regarding Windows Tutorials here.

