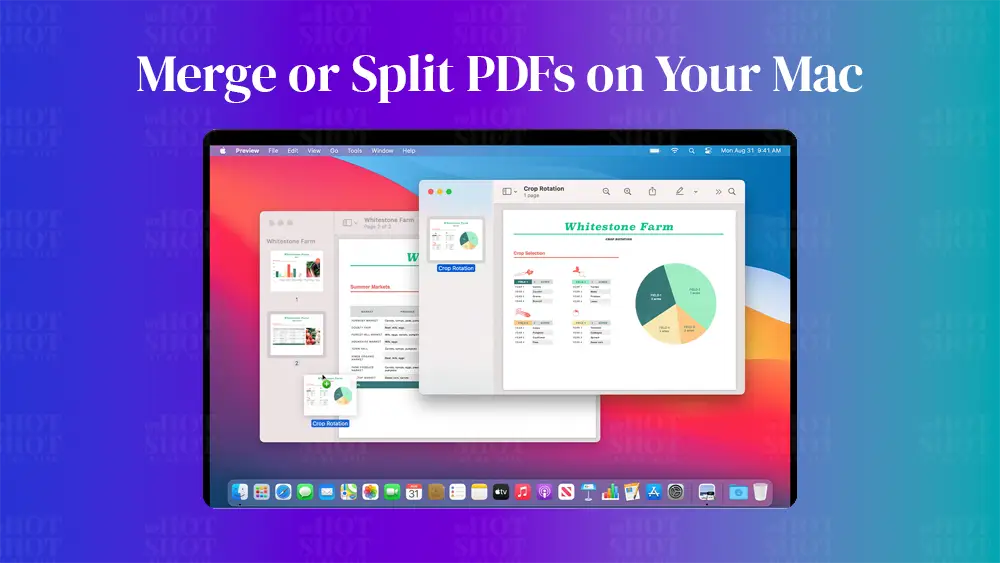
As technology continues to evolve, the need for efficient document management has become increasingly important. One common task is merging or splitting PDF files. Fortunately, if you’re a Mac user, you have an incredibly useful tool built right into your computer that can help you accomplish this task: Preview. In this article, we’ll show you how to use Preview to merge or split PDF files on Mac.
Merging PDF Files
First, let’s start with merging PDF files. This can be particularly useful if you have multiple PDFs that you need to combine into a single file. Here’s how to do it:
- Open Preview on your Mac.
- Click on “File” in the menu bar at the top of the screen.
- Select “Open,” and then navigate to the folder where your PDFs are saved.
- Select the first PDF you want to merge, and then click on “Open.”
- Once the PDF is open in Preview, click on “View” in the menu bar at the top of the screen.
- Select “Thumbnails” to view a sidebar with a thumbnail of each page in the PDF.
- Now, open the second PDF you want to merge. Drag and drop it into the sidebar next to the first PDF.
- Repeat this process for any additional PDFs you want to merge. You can drag and drop them in any order you like.
- Once you have all of your PDFs in the sidebar, rearrange them if necessary by dragging and dropping the thumbnails into the order you want.
- Finally, click on “File” in the menu bar and select “Export as PDF.” Give your merged PDF a name, choose where you want to save it, and click “Save.”
That’s it! You’ve successfully merged multiple PDFs into a single document using Preview on your Mac. Now, let’s move on to splitting PDF files.
Splitting PDF Files
- Open the PDF document you want to split in Preview.
- Click on “View” in the menu bar at the top of the screen, and then select “Thumbnails” to view the sidebar with thumbnails of each page in the PDF.
- Use your cursor to select the page or range of pages you want to split out into a new PDF. You can select multiple pages by holding down the Command key as you click on them.
- Once you’ve selected the pages you want to split, click on “File” in the menu bar at the top of the screen.
- Select “Export Selected Pages” and give your new PDF a name.
- Choose where you want to save the new PDF, and click “Save.”
Congratulations! You’ve just split a PDF document into multiple files using Preview on your Mac.
While merging and splitting PDFs with Preview is a relatively simple process, there are a few additional tips that can help you get the most out of this useful tool:
- To save time when merging PDFs, consider combining all of the files you want to merge into a single folder on your desktop. This will make it easier to find and select them in Preview.
- If you’re splitting a large PDF into multiple files, consider using a naming convention that will help you easily identify each new file. For example, you might use a combination of the original file name and the page numbers included in each new file.
- Preview also offers a variety of other PDF editing tools, including the ability to add annotations, highlights, and comments to your PDFs. Take some time to explore these features to see how they can help you improve your document management workflow.
In conclusion, Preview is a powerful tool that can help you efficiently manage your PDF documents on a Mac. Whether you need to merge multiple PDFs into a single file or split a large PDF into smaller, more manageable files, Preview makes it easy to accomplish these tasks with just a few clicks. With the additional PDF editing tools that Preview offers, such as annotation and markup features, it’s an all-in-one solution for your document management needs.
Find more articles regarding Mac Tutorials here.