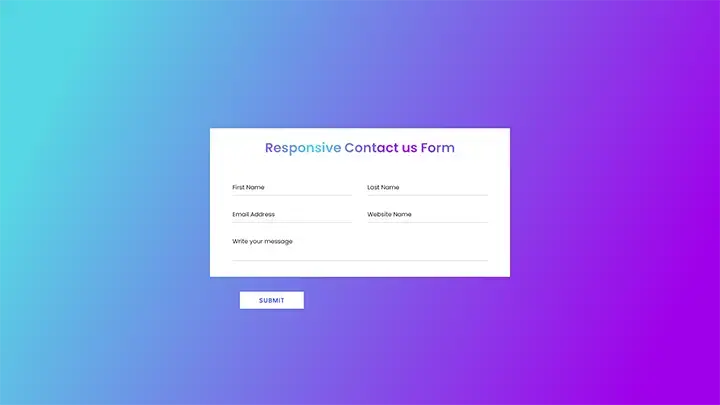
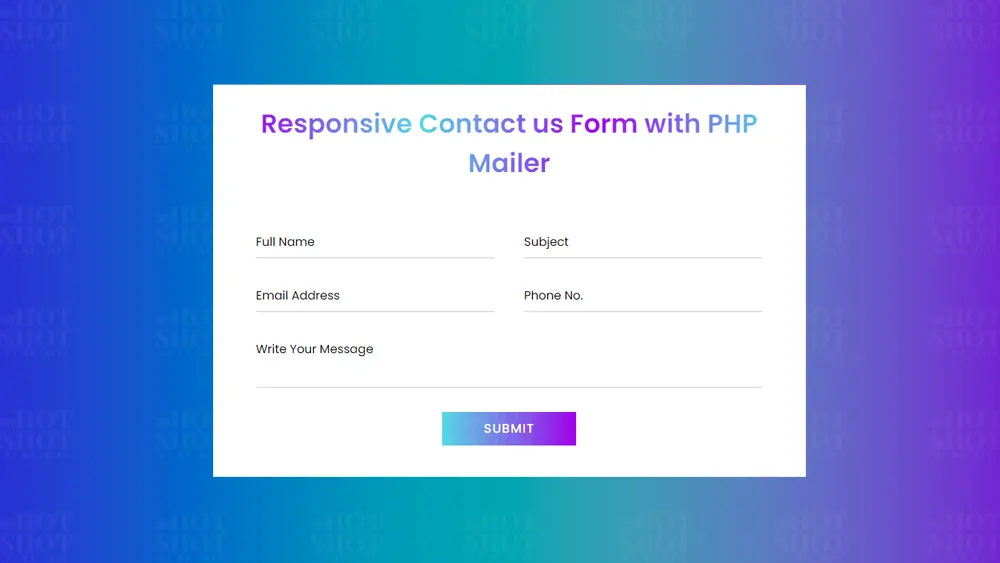
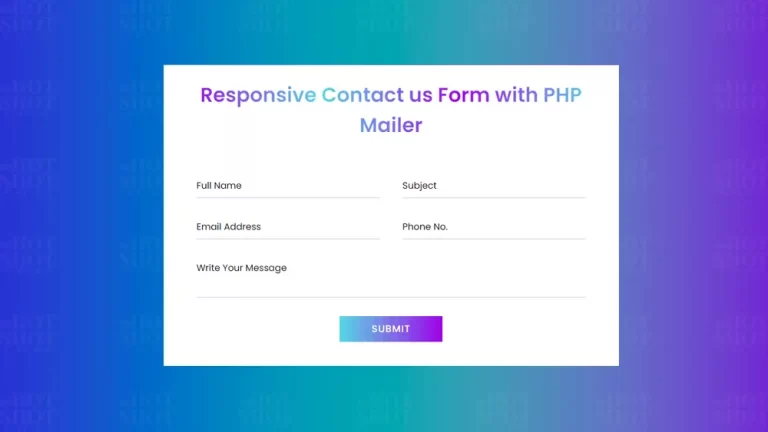
A responsive contact us form is an essential part of any website, as it provides a direct line of communication between a website owner and its users. A well-designed contact us form can help a business to gather valuable feedback, answer questions and resolve issues more effectively. In this article, we will discuss how to create a responsive contact us form using HTML & CSS. Before diving into the form creation process, let’s define HTML & CSS.
HTML (HyperText Markup Language):
HTML is the standard markup language used to create web pages. It is used to structure and display content on the web. HTML consists of a set of tags and attributes that define the structure and content of a web page. These tags and attributes are used to create headings, paragraphs, lists, links, images, and other types of content on a web page.
CSS (Cascading Style Sheets):
CSS is used to add style and design to a web page created with HTML. CSS defines how HTML elements should be displayed on a web page, including their color, size, and position. CSS can also be used to create responsive designs that adjust to different screen sizes and devices.
Creating a Responsive Contact Us Form using HTML & CSS:
Here are the steps to create a responsive contact us form using HTML & CSS:
1. Create the HTML structure for the form:
The first step in creating a contact us form is to create the HTML structure. The HTML structure consists of a form tag that contains input fields, labels, and a submit button. The form tag should have an action attribute that specifies the URL to which the form data will be sent when the user submits the form.
First, create an HTML file with the name of index.html and paste the given codes in your HTML file. Remember, you’ve to create a file with .html extension.
					<!DOCTYPE html>
<!-- Created By WPHotShot -->
<html lang="en" dir="ltr">
   <head>
      <meta charset="utf-8">
      <title>Responsive Contact us Form | CodingNepal</title>
      <link rel="stylesheet" href="style.css">
      <meta name="viewport" content="width=device-width, initial-scale=1.0">
   </head>
   <body>
    <div class="container">
        <div class="text">Responsive Contact us Form</div>
        <form action="#">
           <div class="form-row">
              <div class="input-data">
                 <input type="text" required>
                 <div class="underline"></div>
                 <label for="">First Name</label>
              </div>
              <div class="input-data">
                 <input type="text" required>
                 <div class="underline"></div>
                 <label for="">Last Name</label>
              </div>
           </div>
           <div class="form-row">
              <div class="input-data">
                 <input type="text" required>
                 <div class="underline"></div>
                 <label for="">Email Address</label>
              </div>
              <div class="input-data">
                 <input type="text" required>
                 <div class="underline"></div>
                 <label for="">Website Name</label>
              </div>
           </div>
           <div class="form-row">
              <div class="input-data textarea">
                 <textarea rows="8" cols="80" required></textarea>
                 <br />
                 <div class="underline"></div>
                 <label for="">Write your message</label>
                 <br />
                 <div class="form-row submit-btn">
                    <div class="input-data">
                       <div class="inner"></div>
                       <input type="submit" value="submit">
                    </div>
                 </div>
              </div>
           </div>
        </form>
     </div>
   </body>
</html>
2. Add CSS styles to the form:
The next step is to add CSS styles to the form to make it look good and make it responsive. CSS can be added to a web page in several ways, including adding it directly to the HTML file, or linking to an external CSS file. In this example, we will add the CSS styles directly to the HTML file.
Now, create a CSS file with the name of style.css and paste the given codes in your CSS file. Remember, you’ve to create a file with .css extension.
					@import url('https://fonts.googleapis.com/css?family=Poppins:400,500,600,700&display=swap');
*{
  margin: 0;
  padding: 0;
  outline: none;
  box-sizing: border-box;
  font-family: 'Poppins', sans-serif;
}
body{
  display: flex;
  align-items: center;
  justify-content: center;
  min-height: 100vh;
  padding: 40px;
  background: linear-gradient(115deg, #56d8e4 10%, #9f01ea 90%);
}
.container{
  max-width: 800px;
  background: #fff;
  width: 800px;
  padding: 25px 40px 10px 40px;
  box-shadow: 0px 0px 10px rgba(0,0,0,0.1);
}
.container .text{
  text-align: center;
  font-size: 35px;
  font-weight: 600;
  background: -webkit-linear-gradient(right, #56d8e4, #9f01ea, #56d8e4, #9f01ea);
  -webkit-background-clip: text;
  -webkit-text-fill-color: transparent;
}
.container form{
  padding: 30px 0 0 0;
}
.container form .form-row{
  display: flex;
  margin: 32px 0;
}
form .form-row .input-data{
  width: 100%;
  height: 40px;
  margin: 0 20px;
  position: relative;
}
form .form-row .textarea{
  height: 70px;
}
.input-data input,
.textarea textarea{
  display: block;
  width: 100%;
  height: 100%;
  border: none;
  font-size: 17px;
  border-bottom: 2px solid rgba(0,0,0, 0.12);
}
.input-data input:focus ~ label, .textarea textarea:focus ~ label,
.input-data input:valid ~ label, .textarea textarea:valid ~ label{
  transform: translateY(-20px);
  font-size: 14px;
  color: #3498db;
}
.textarea textarea{
  resize: none;
  padding-top: 10px;
}
.input-data label{
  position: absolute;
  pointer-events: none;
  bottom: 10px;
  font-size: 16px;
  transition: all 0.3s ease;
}
.textarea label{
  width: 100%;
  bottom: 40px;
  background: #fff;
}
.input-data .underline{
  position: absolute;
  bottom: 0;
  height: 2px;
  width: 100%;
}
.input-data .underline:before{
  position: absolute;
  content: "";
  height: 2px;
  width: 100%;
  background: #3498db;
  transform: scaleX(0);
  transform-origin: center;
  transition: transform 0.3s ease;
}
.input-data input:focus ~ .underline:before,
.input-data input:valid ~ .underline:before,
.textarea textarea:focus ~ .underline:before,
.textarea textarea:valid ~ .underline:before{
  transform: scale(1);
}
.submit-btn .input-data{
  overflow: hidden;
  height: 45px!important;
  width: 25%!important;
}
.submit-btn .input-data .inner{
  height: 100%;
  width: 300%;
  position: absolute;
  left: -100%;
  background: -webkit-linear-gradient(right, #56d8e4, #9f01ea, #56d8e4, #9f01ea);
  transition: all 0.4s;
}
.submit-btn .input-data:hover .inner{
  left: 0;
}
.submit-btn .input-data input{
  background: none;
  border: none;
  color: #fff;
  font-size: 17px;
  font-weight: 500;
  text-transform: uppercase;
  letter-spacing: 1px;
  cursor: pointer;
  position: relative;
  z-index: 2;
}
@media (max-width: 700px) {
  .container .text{
    font-size: 30px;
  }
  .container form{
    padding: 10px 0 0 0;
  }
  .container form .form-row{
    display: block;
  }
  form .form-row .input-data{
    margin: 35px 0!important;
  }
  .submit-btn .input-data{
    width: 40%!important;
  }
}
That’s all, now you’ve successfully created a Responsive Contact us Form using HTML & CSS. If your code doesn’t work or you’ve faced any error/problem then please comment down or contact us from the contact page.
Find more tutorials regarding Web Development here.

